Installation. Microwave Installation Done Right
The install depends entirely on the type. An over-the-range (OTR) unit is the trickiest: it hangs from a wall plate anchored into studs and a top bolt that runs through the upper cabinet, and it has to clear the burners by code and line up with the cabinet face. Get the mounting plate level and the bolt holes right, and the rest follows; rush it, and a 40-pound microwave ends up crooked or pulling loose over the door. We also set up the venting — OTR models double as your range hood, so we'll either fit the charcoal filter for recirculating setups or connect the blower to your existing duct (top, rear, or outside wall) and confirm the damper actually opens.
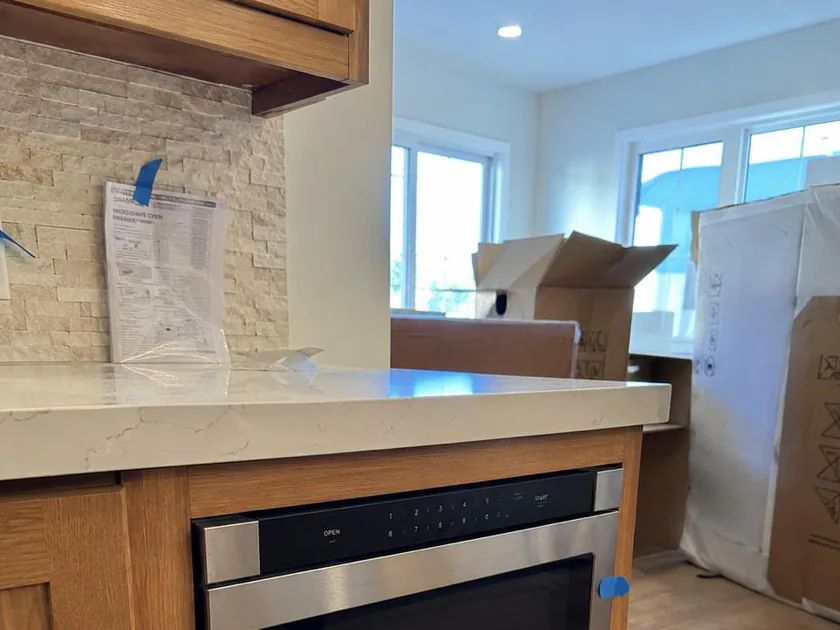
Built-in models drop into a cabinet cutout with a trim kit that needs proper clearance front and back so the unit doesn't overheat. Countertop installs are simpler but still need a dedicated, properly grounded outlet — microwaves draw hard on startup and don't belong on a shared circuit with the toaster. On every install we confirm the door closes tight against its seal, the latch engages all three interlock switches, and the plug matches a real grounded receptacle as the final check.