Installation. Installing Your Washer & Dryer the Right Way
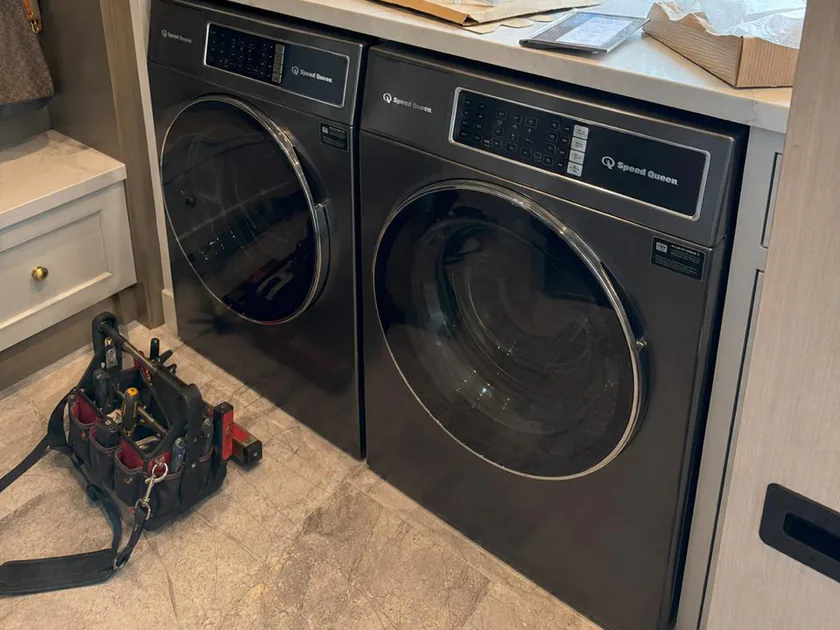
Most laundry headaches we get called back for were baked in at install. We start with the hookup type: a gas dryer needs a leak-checked gas line and a tight flex connector, an electric dryer needs the right cord for your outlet — a 3-prong versus 4-prong mismatch is the single most common reason a new dryer won't power on. From there it's the boring stuff that actually matters: steel braided fill hoses instead of the rubber ones that burst, a washer leveled on all four feet so it doesn't hammer the floor on spin, and the dryer's anti-tip bracket actually anchored, which is non-negotiable on a stacked or pedestal setup.
The vent is where we slow down. A dryer wants a short, smooth metal duct with as few elbows as possible; foil accordion hose kinks, traps lint, and turns a 40-minute cycle into 90. We route the shortest sane path, seal the joints with foil tape rather than screws that snag lint, and confirm the exterior flap opens with airflow. For a stackable unit in a closet or apartment, we make sure the cabinet is rated to carry the dryer's weight and that the door clears the swing. To wrap up, we run a fill-drain-spin on the washer and a heat cycle on the dryer so you watch it work, not just plug in.